12 performance tricks for optimizing VR apps in Unity 5
VR applications are far more computationally intensive than non-VR counterparts, making performance optimization a crucial task. If you’re targeting the mobile devices like the GearVR, this becomes even more paramount.
These are performance metrics you should try and hit:
- 50 draw calls per eye. Unity 5 more accurately refers to them as setpass calls.
- Fewer than 50K-100K vertices & 50K-100K polygons in your scene.
Here’s a bag of simple tricks you can use to hit those numbers:
Static batching #
You probably have a ton of static geometry in your scene such as walls, chairs, lights, and meshes that never move. Mark them as static in the editor. Be sure to mark them as lightmap static in order to get baked lightmap textures. Instead of incurring a draw call for each individual object, objects marked as static can be batched into one combined mesh.
Static batching has one crucial requirement: all the objects must use the same material. If you have static walls with a wood material and static chairs with a steel material, the walls will be batched into one draw call with one combined mesh, and the chairs in a separate draw call, with their own separate mesh.
Texture atlasing #
As previously noted, each material incurs a draw call. You might assume that a wooden door and a steel chair might need separate materials since they use separate textures. However, if they can use the same shader, you can use texture atlases to create one material that both objects can use. A texture atlas is simply a larger texture that includes all of the smaller textures. Instead of dozens of materials loading dozens of textures, you can have one material loading just one texture. Each object can be mapped to use a texture on different coordinates on the atlas.
You can do this manually in your art pipeline, but I’ve found Juan Sebastian’s Pro Draw Call Optimizer to be quite useful. It automatically generates texture atlases and swaps in new objects without messing with your assets.
Dynamic batching #
Moving non-static objects can be dynamically batched into a single draw call. I’ve noticed this is CPU intensive and is calculated on each frame, but is a nice optimization. This only works on objects with have fewer than 900 vertices that use the same material. Use texture atlasing to create a single material for your dynamic objects and you get cheap dynamic batching!
LODs #
LOD Groups are a cheap way to improve performance. Use assets that have multiple LODs and render lower-detail geometry for objects further from the camera. Unity can automatically fade between each LOD as the camera approaches closer.
Fillrate, overdraw, and culling #
This gets to a topic I’m not too familiar with, but is worth paying attention to: reducing overdraw, where furthest objects are drawn to a pixel first, redrawing the pixel with each closer object subsequently on top. This wasn’t much of an issue on your average 1080p PC display but is significant issue with VR and mobile devices that have ultra-high resolution displays. A large amount of overdraw combined with a larger number of pixels kills your fillrate. Texture filtrate is one of the key limiting metrics in GPUs.
Some solutions are provided out of the box with occlusion culling and frustum culling. Frustum culling doesn’t render objects that are outside of the camera’s frustum. No point rendering objects you can’t see! Occlusion culling gets rid of objects that are occluded by other objects in front of it. Rooms behind a door, for example, can be left out entirely. By default works occlusion culling works on your entire scene, but proper level design will allow you to cull out entire levels of your game.
LOD Groups can also cull objects that are too far away from the scene, further helping minimize fillrate.
Level design #
If your game involves a player traveling from room to room, the naive solution has the entire game in one level. The downside, however, is memory consumption. Each object and material in each room is loaded to memory, even though they aren’t visible. Put each room into a separate level and asynchronously load them intelligently in code.
Asynchronous loading #
Before the player approaches the door to the next room, load the next level. Don’t load this synchronously using Application.LoadLevel() as this will cause your game to hang while loading. As head tracking seizes momentarily, this will cause nausea and is a horrible experience for the player.
Instead, use Application.LoadLevelAsync(). You can find an example of this in the Oculus Mobile SDK BlockSplosion sample, under StartupSample.cs
Baked lighting #
Turn off realtime shadows! Objects that receive dynamic shadowing will not be batched, and you’ll incur a severe draw call penalty.
On PC, you can get away with a single realtime directional light for nice dynamic shadows. Most modern PCs can provide gorgeous per-pixel shadowing. However on mobile, you want to stick to baked lighting and no realtime shadows. Bake your lighting with Hard and Soft shadowing at Very High Resolution.
Shadows #
Especially for a performant mobile experience, jump back to old tricks for shadows on 3D objects. Semi-realistic shadows can be simulated with a simple 2D quad under your object with a blurry shadow texture.
VR Jam tip: Don’t try to use shadow buffers. Pre-light environments and use old-school blurry shadow blobs under characters.
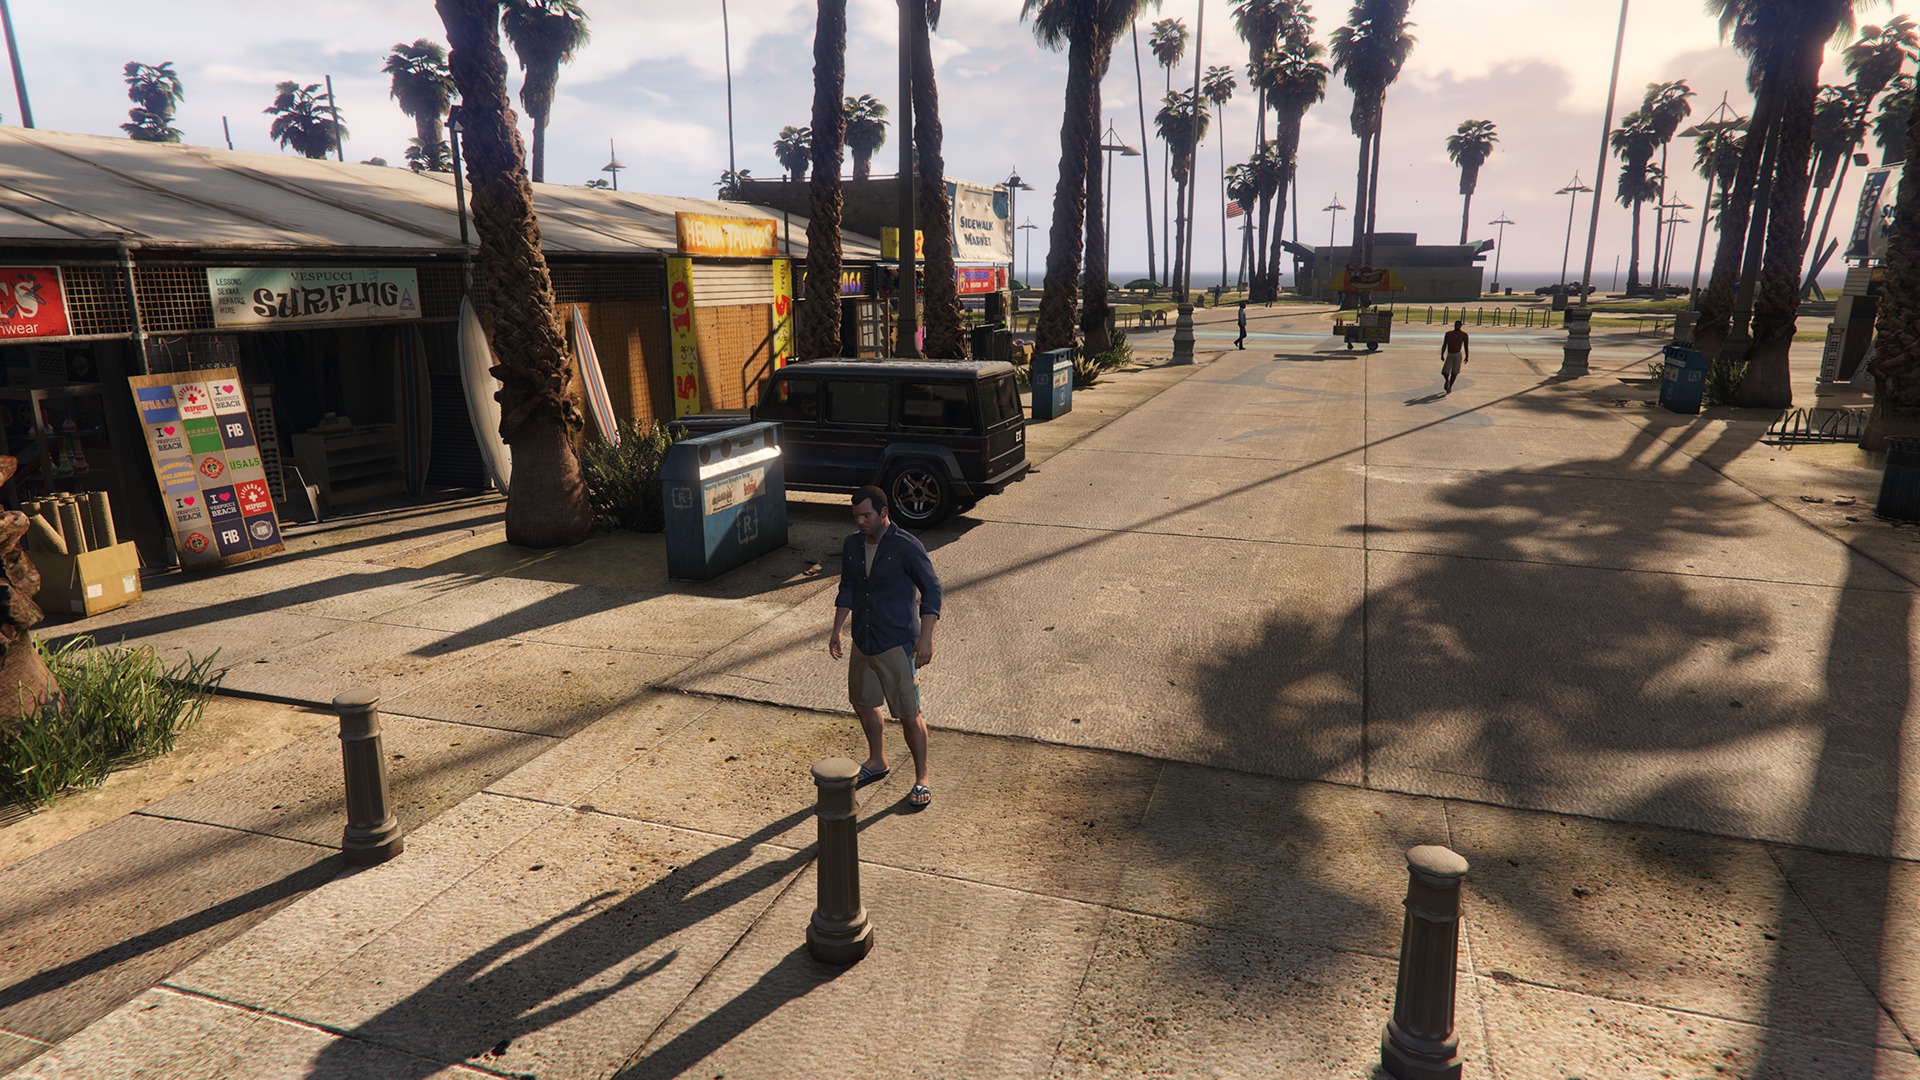
— John Carmack (@ID_AA_Carmack) April 26, 2015For example, you can’t afford to do realtime dynamic shadowing as seen here in GTA V on a high-end PC.
Try this instead. This screenshot from 2002’s GTA Vice City utilizes shadow blobs to cheaply provide the illusion of shadows on the Playstation 2.

Light probes #
When you use baked lighting, your dynamic objects look out of place while static objects look great. You can use light probes to cheaply simulate dynamic lighting on your dynamic objects.
Light probes are baked cubemaps that store information about direct, indirect and even emissive light at various points in your scene. As a dynamic object moves, it interpolates samples of nearby light probes to approximate the lighting at that specific position. This is a cheap way of simulating realistic lighting on dynamic objects without using expensive realtime lights.
Unity has useful documentation on where to place your light probes.
Avoid transparent and multi-material objects #
Objects like glass see-through windows that use transparent shaders are very expensive. There’s a common practice of adding realism to walls by using a transparent material with a dust or rust texture along with a separate base diffuse material. This multi-material alpha blending is expensive; each material adds a draw call! Note however the multiple textures are not an issue; using multiple separate materials is expensive. Use one material and a shader that can blend multiple textures with alpha blending instead of multiple separate materials.
Skinned mesh renderers #
Skinned mesh renderers are commonly used on characters that have animated rigs, enabling realistic mesh deformation using physics (ragdoll bodies) or custom animations (walk, jump, etc.).
Sad news: skinned mesh renderers don’t get batched. Each character in your scene can create several draw calls per eye. I’m not sure how to solve this yet.
Further resources #
I recommend watching the Oculus Connect session on developing for the GearVR.
There’s quite a bit more in performance optimization that I’m leaving out for now for the sake of brevity. Physics, AI navigation, and several subjects on the programming side can be computationally intensive. I’ll cover those tricks next time.
Next, I plan to talk about realistic indoor lighting in Unity 5. It’s a complex topic that I’m deeply interested in. If you found this blog post to be useful, if you have feedback or ideas for what I should write next, or if you just want to say hi, please reach out to me on Twitter!